Building a Crossplatform Cuda application
Following our Essential environment setup, We implement our first C++ and Cuda application modules. We describe on this post the steps needed to build and integrate the Cuda system with C++ and Python using CMake.
Writen by: Santiago Hurtado

Building C/C++ Applications with CMake is one of the most widely used approaches, we decide to build this prototype
using it for better reproducibility.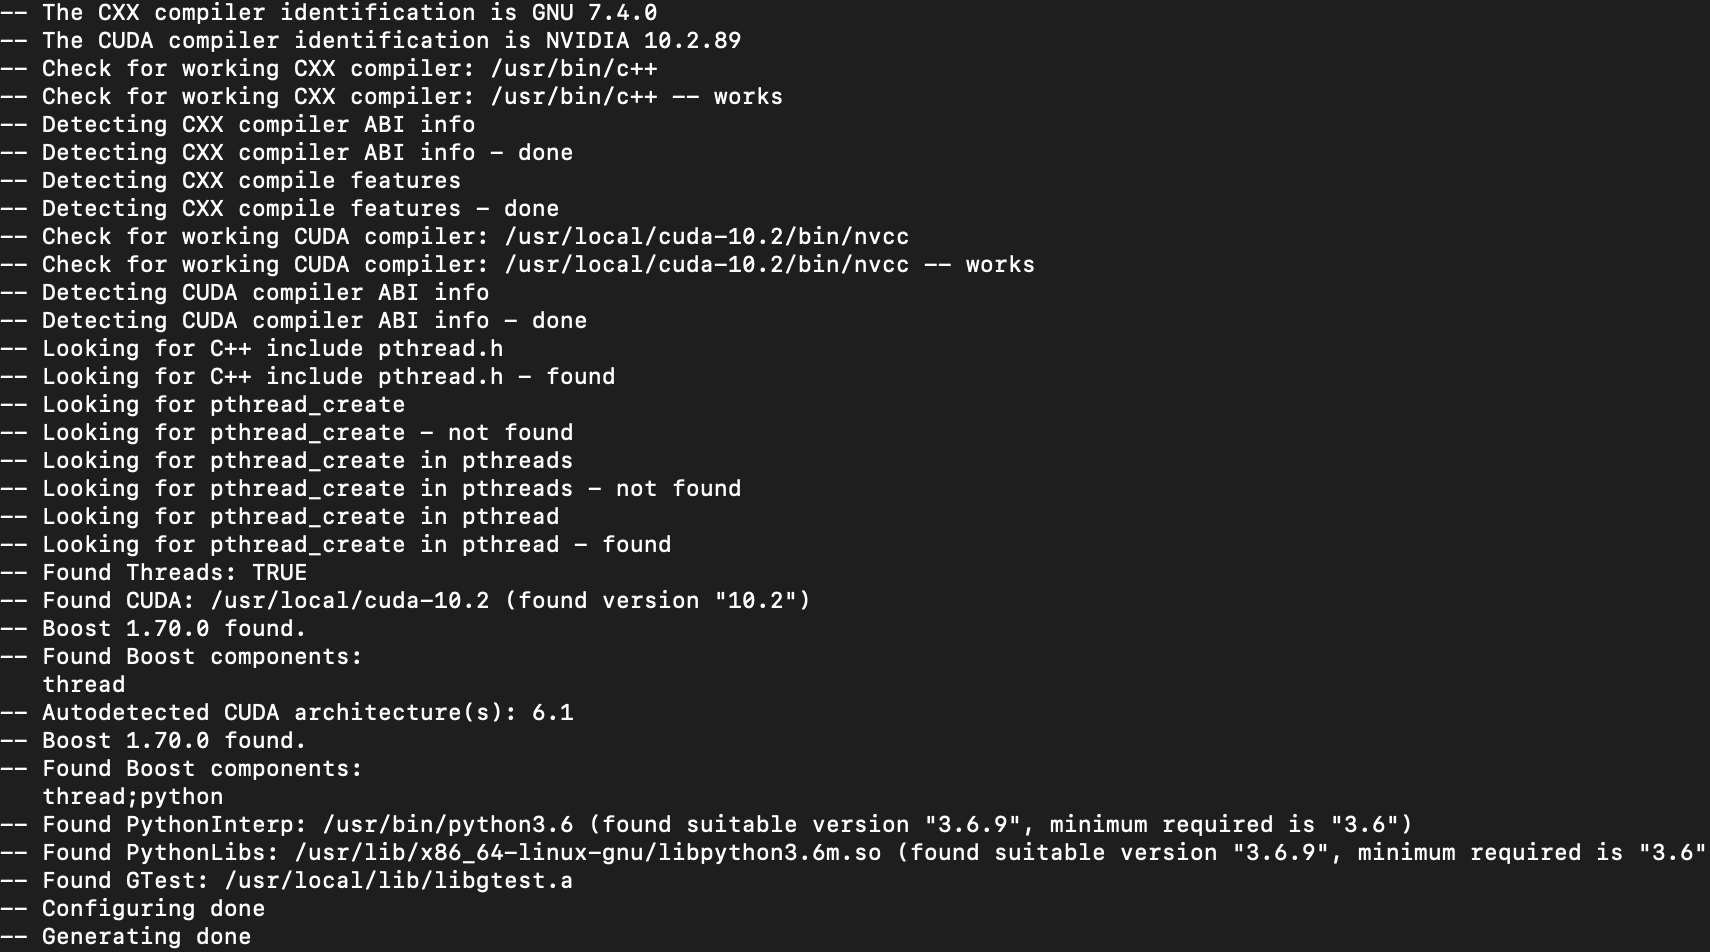
Building with CMake #
Main CMake #
On the main Cmake we use the include directory to have the common headers:
include_directories(. include)
We also define the dependency on CUDA and C++ 14, since it is what Cuda supports at the moment.
    set(CMAKE_CXX_STANDARD 14)
    set(CMAKE_CUDA_STANDARD 14)
Don’t forget to enable testing to be able to use ctest
enable_testing()
Serial CMake #
The next step is to have our serial implementation working. For this the key line needed for Boost Python to work is:
option(BUILD_SHARED_LIBS "Build libraries as shared as opposed to static" ON)
Multicore CMake #
To have multithread support on the multicore implementation we use Boost Threads library.
find_package(Boost 1.70.0 COMPONENTS thread REQUIRED)
And also we have the same line to build shared libs.
option(BUILD_SHARED_LIBS "Build libraries as shared as opposed to static" ON)
Parallel CMake #
For Cuda support using CMake we set the project as Cuda and allow the separated compilation.
    find_package(CUDA REQUIRED)
    project(parallel_math_lib CUDA)
    set_target_properties(${PROJECT_NAME} PROPERTIES CUDA_SEPARABLE_COMPILATION ON)
Also we present automatically what architecture for cuda is supported by our device.
  cuda_select_nvcc_arch_flags(ARCH_FLAGS "Auto")
  list(APPEND CUDA_NVCC_FLAGS ${ARCH_FLAGS})
Python CMake #
Having the compilation of Boost Python with CMakecode working proved to be tricky. It requires to have libraries with the proper versions specified, found by the Boost Python build, and after by CMake. On the docker build Essential environment setup is presented how to build Boost with support for python 3.6.
    find_package(Boost 1.70.0 COMPONENTS thread python REQUIRED)
    find_package(PythonInterp 3.6 REQUIRED)
    find_package(PythonLibs 3.6 REQUIRED)
    include_directories(${BOOST_INCLUDE_DIRS})
The last piece is to have the lib build without the lib prefix:
set_target_properties(serial_math PROPERTIES PREFIX "")The lib name has to match the module on the C++ Code
  BOOST_PYTHON_MODULE (serial_math){
          };
The coolest part is that you can run python tests(or any executable), the key section is to tell python where to find the .o
  add_test(
      NAME
      python_serial_test
      COMMAND
      ${CMAKE_COMMAND} -E env MATH_MODULE_PATH=$<TARGET_FILE_DIR:serial_math>
      ${PYTHON_EXECUTABLE} ${CMAKE_CURRENT_SOURCE_DIR}/tests/serial_test.py
  )
For python you need to append the path, a easy option is inside the python code
sys.path.append(os.getenv('MATH_MODULE_PATH'))
Unit Testing Build #
Lastly to have the unit test running on CMake we need to have install gtest, there are recipes that can install the gtest as well, but we try to keep it simple.
We need support for C++(gcc) and Cuda(nvcc)
  project(tests CXX CUDA)
  set(CMAKE_CXX_STANDARD 14)
  find_package(GTest REQUIRED)
Include the path of the gtest libraries
include_directories(${GTEST_INCLUDE_DIRS})Add an executable by module
add_executable(serial_${PROJECT_NAME} serial_tests.cpp)Linking, dont forget that gtest needs pthread
target_link_libraries(serial_${PROJECT_NAME} ${GTEST_LIBRARIES} pthread serial_math_lib)Add the tests to ctest to be executed on the ‘make test’ command
  add_test(
      NAME serial_${PROJECT_NAME}
      COMMAND $<TARGET_FILE:serial_${PROJECT_NAME}>
  )
And repeat for each unit test file
Dont forget to enable the tests
enable_testing()
Running the build #
We build everything, cross our fingers and run the tests.
Create a build folder
mkdir buildVerify all the dependencies
  cd build
  cmake ..
Build and test
  make
  make test
If everything works all six tests should pass.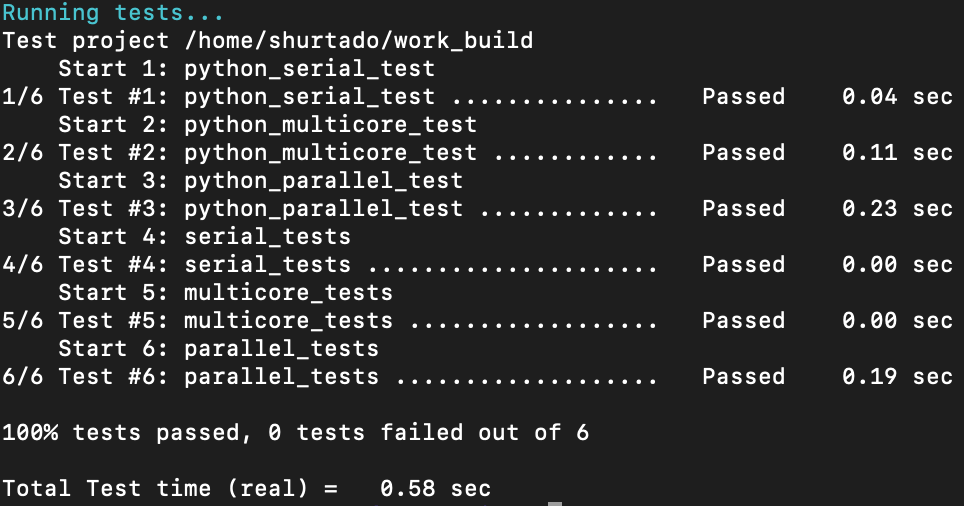
Troubleshooting #
To debug the make phase use
make VERBOSE=1To show the complete tests use
ctest -V
Conclusion #
When working on having performant software it is important to understand the different trade-offs. You must always perform benchmarks and stress tests, find where the biggest bottlenecks and check the different opportunities to improve.
The code done is far from optimal. If you are looking for an optimized solution is recommended to use libraries such as Cublas or Thrust, Where the theoretic performance of the device can be achieved.
We assume the main applications are written in Std C++ that is why the unit tests are developed in C++ using GTest. Considering that Python is one of the most widely used multipurpose programming languages, it makes sense to provide an interface to be used easily by the end-user.
Happy building!